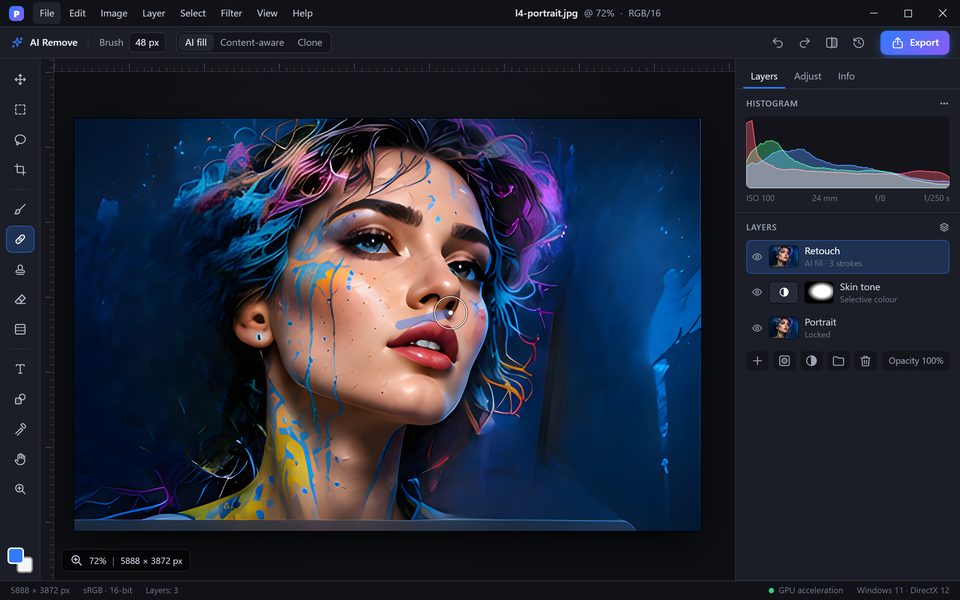
Step by step
Select the subject
Open the photo and choose Select > Subject. PixelForge detects people, animals and products and draws the selection for you.
Refine the edge
Click Refine Edge in the options bar. Paint with the Refine brush over hair, fur or soft edges, and raise Smooth slightly for product shots with clean outlines.
Output to a mask
Set Output to "Layer mask" and click OK. The background is hidden, not deleted, so you can repair any spot with a brush on the mask.
Add a new background (optional)
Add a new layer under the cut-out and fill it with a colour, a gradient or another photo. Use Match Colour to blend the subject in.
Export with transparency
Choose File > Export As and pick PNG or WebP to keep the transparent background, or JPG with a white background for marketplaces.
Tips for better results
- Shoot products on a plain background — the automatic selection is almost perfect then.
- Zoom to 100% when you check the edge, especially around hair.
- Use the Decontaminate Colours option to remove coloured fringes from the old background.